Gitora enables Oracle developers to pull code from other databases managed by Gitora with a single click. It also enables them to push to and pull from other Git repositories including the ones hosted by GitHub, GitLab, Bitbucket etc…
Below are the steps to achieve this:
Moving Code from one Database to Another Using Gitora
Gitora 5 can manage any number of databases. It also enables these databases to pull code from each other. This makes moving code in your delivery pipeline (from dev to test, from test to preprod etc…) much less error prone and easier.
Open the Gitora app. Select the repo you want to pull to from the main select box.
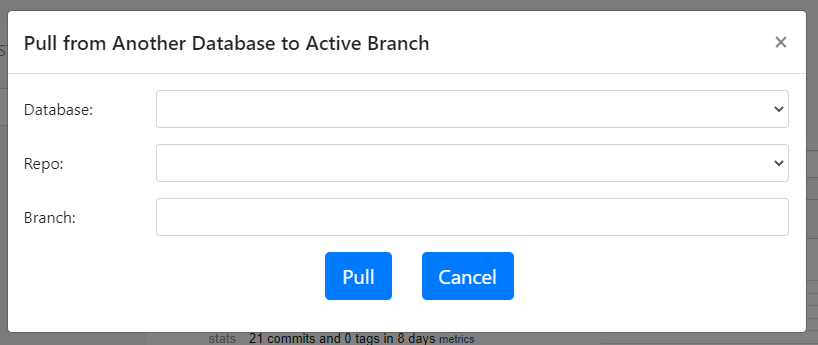
In order pull code from another database managed by Gitora, click the “Git->Other Databases -> Pull” menu item. The Pull Dialog shows up.
Select the database you want to pull from. Next choose a repo and the branch.
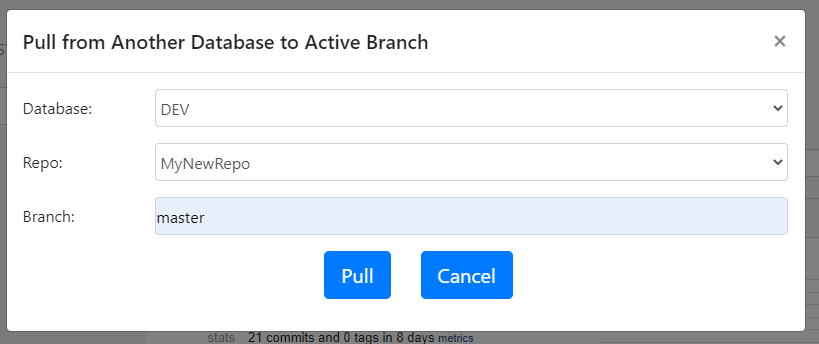
In the example above, we are connected to our TEST database. We are pulling from the DEV database the MyNewRepo repo’s master branch. Any code changes that exist in the database objects that are part of MyNewRepo’s master branch (but don’t exist in TEST) will move to the TEST database after clicking the Pull button.
Pull is the simplest and most common use case. It moves the latest version of a code base from one database to another. Gitora also supports more sophisticated workflows. For example, you can move the code at a specific commit ID on a specific branch from one database to another database.
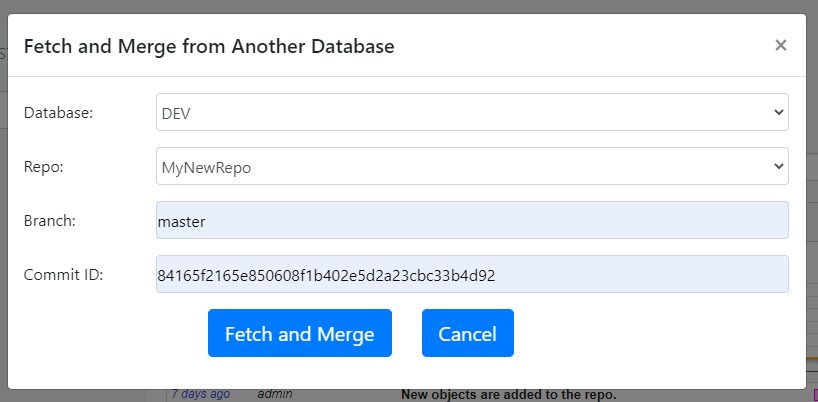
To achieve this click “Git->Other Databases->Fetch and Merge” menu item. The Fetch and Merge Dialog shows up. To further extend the example above, using this dialog, you can specify which commit ID you want to fetch from the other database. The example below fetches and earlier commit ID from the MyNewRepo’s master branch in DEV. (Pull always fetches the current code in the DEV database.)
Finally, we may want to fetch a new branch in another database that does not exist in the database we are connected to. For example, we may want to test a new feature developed in the feature branch FEATURE1. To test this feature, we need to pull it to the TEST database. To achieve this, click “Git->Other Databases-> Switch to Branch in Another Database” menu item. A Dailog shows up. Enter the database, repo and the branch name you want to bring over to the database you are connected to. In the example above, we are brining the FEATURE1 branch from MyNewRepo in DEV to the TEST database.

Pull from/Push to Remote Repos
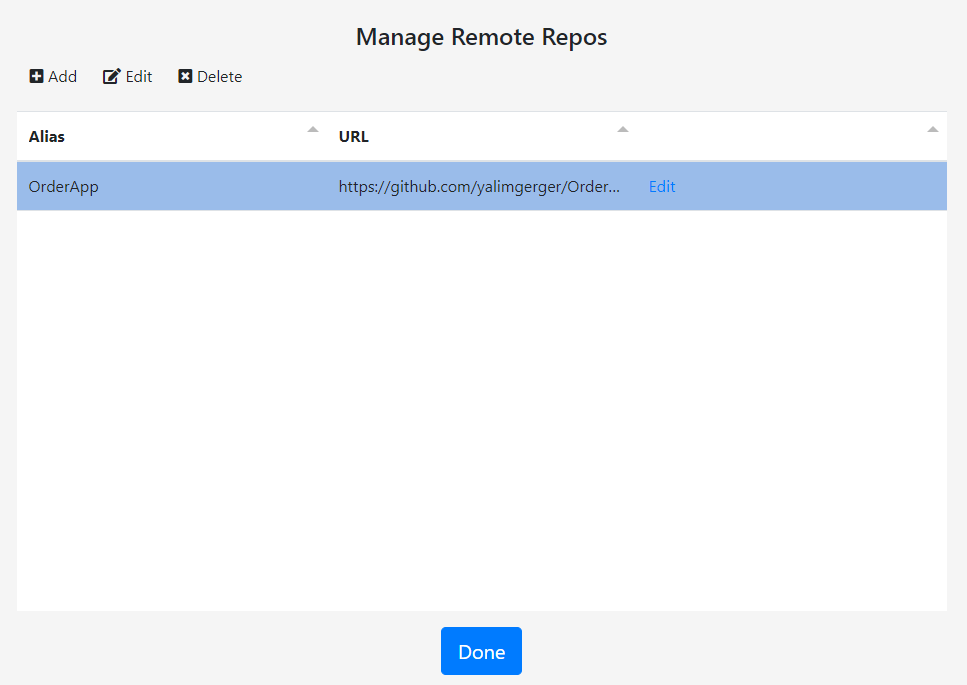
In the Gitora web application, click the Settings –> Manage Remote Repos from the menubar.
The Manage Remote Repos page shows up.
Click the add button. The Add Remote dialog shows up. Enter a friendly alias for the remote Git repo. Finally, enter the URL that points to the remote repo. If you are using a service like GitHub, refer to the service provider website for the correct URL. For GitHub, the URL is in the following format: https://github.com/[github user name]/[gitreponame].git
Moving Code from Remote Repos to Databases using Gitora
Pulling from remote repos work the same way as pulling from other databases. Please note that in order for Gitora to successfully pull from a remote repo and update the database the structure, the remote repo must be either created by Gitora initially or the structure, folder and file names of the repo must be as if they are created by Gitora.
Pushing to a remote Git Repo
Open the Gitora app, select the repo you’d like to push from the main select box. Netx, click Git->Remote->Push. The Push dialog shows up.
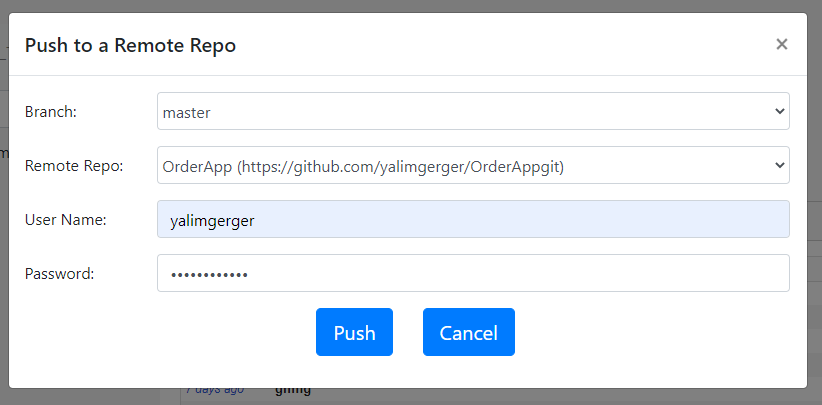
Select the branch you’d like to push and the target remote repository you’d like to push this branch to. Enter the user name and password to connect to the remote repository. Leave these fields empty if the remote repository is not protected by a user name and a password. For example, if you are pushing to GitHub, the credentials you should enter are your GitHub user name and password.
Click the push button and wait for the response message to show up.