Gitora For Data exposes a JSON API that you can use to complete the most common tasks you’d use the application for.
Specifically, using the API you can:
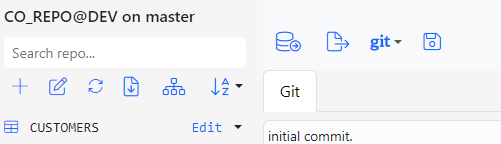
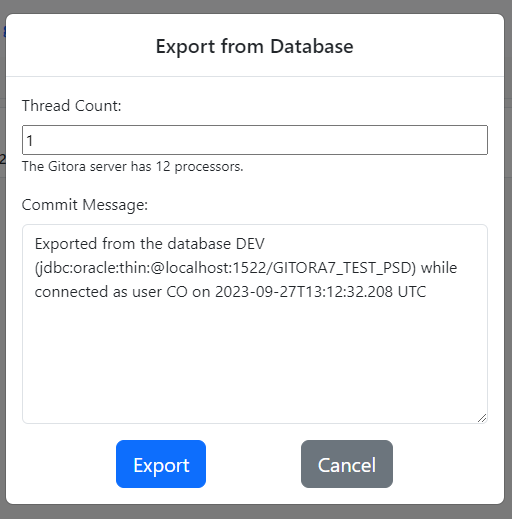
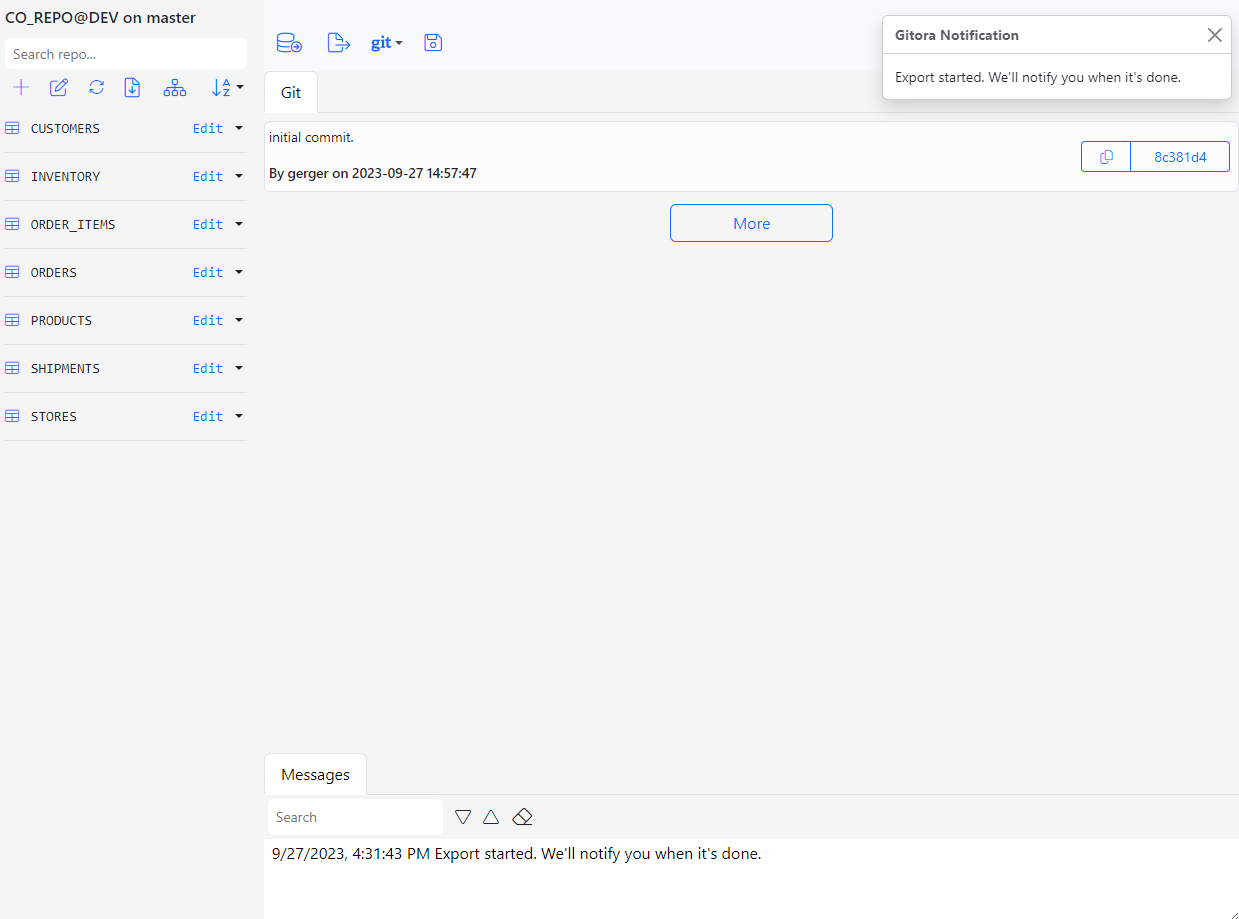
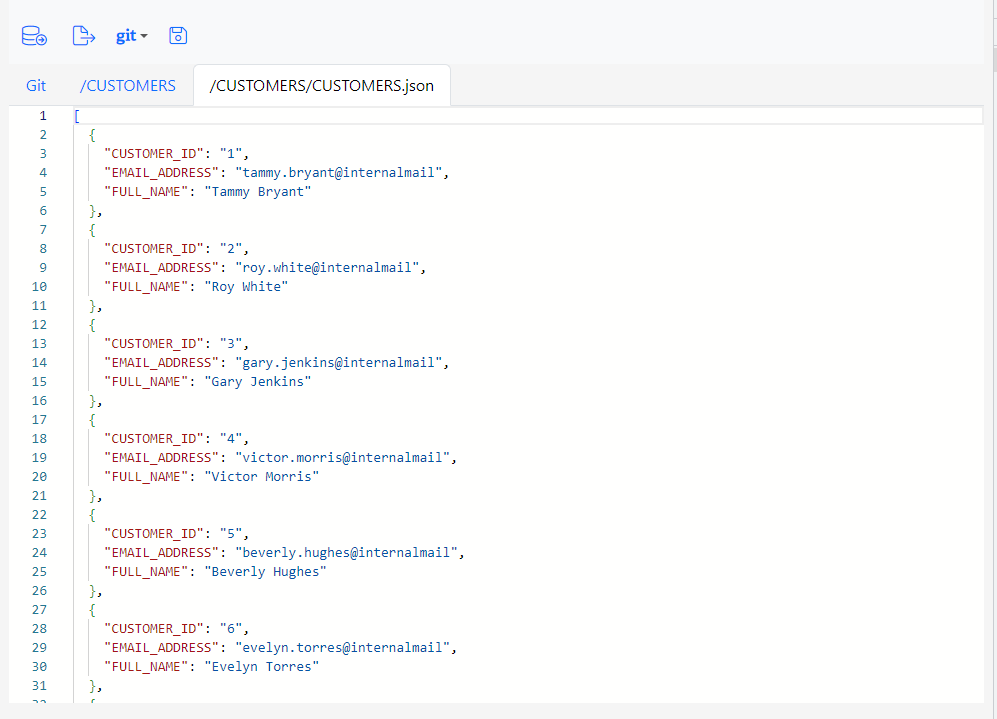
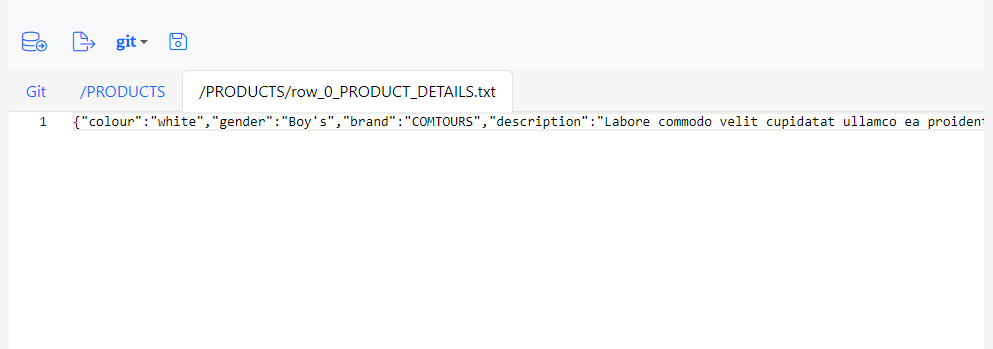
- Export data from a database to a repo
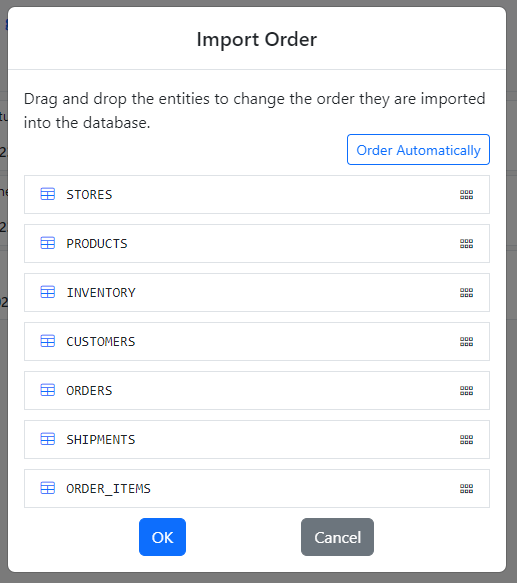
- Import data from a repo to a database
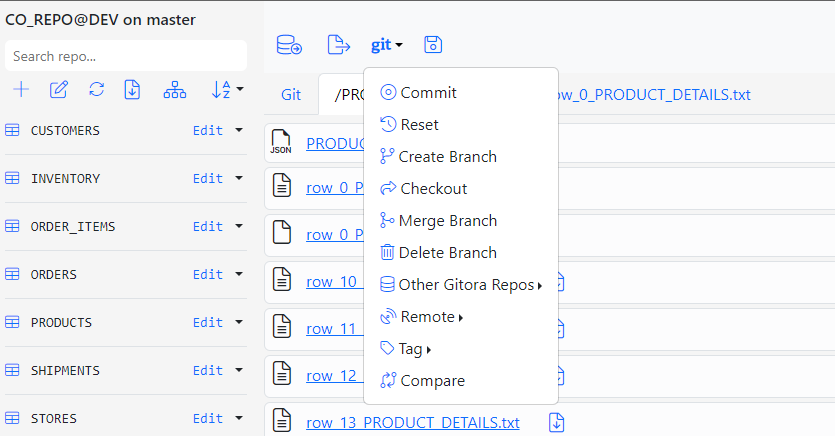
- Clone a repo
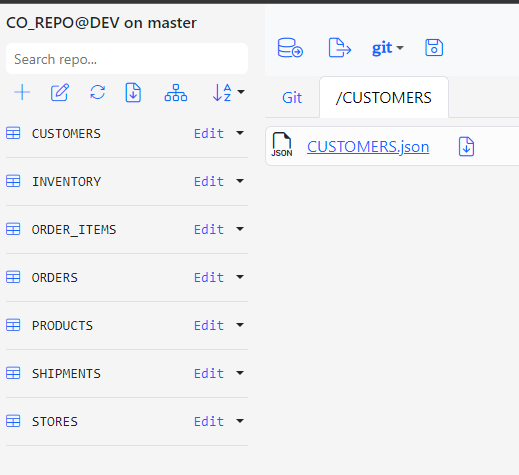
- Get the text content of a file from the repo
- Download a binary file (LOB) or a folder from the repo
Authentication
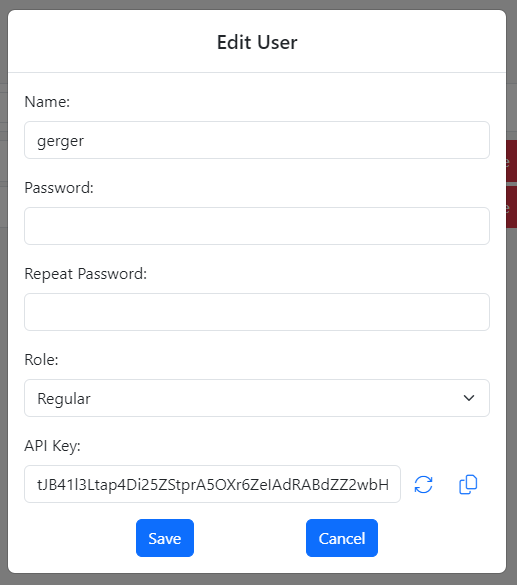
Gitora For Data API uses API keys for authentication. Please read the section titled Generating and Using API Keys at the end of this document to learn about API keys.
All API requests should include your API key in an Authorization HTTP header as follows:
Authorization: Bearer GITORA_FOR_DATA_API_KEY
Below is a Java code example to establish a connection to the Gitora For Data API. Note that the API end point is at [your domain]/gitorafordata/api
   private static String getApiKey() {
        return "YOUR API KEY";
   }

   private static HttpURLConnection getHTTPConnection() {
        try {
            URL url = new URL("http://127.0.0.1:7101/gitorafordata/api");
            HttpURLConnection connection = (HttpURLConnection) url.openConnection();
            connection.setRequestMethod("POST");
            connection.setRequestProperty("Content-Type", "application/json");
            connection.setRequestProperty("Authorization", "Bearer " + getApiKey());
            connection.setDoOutput(true);
            return connection;
        } catch (Exception e) {
            e.printStackTrace();
        }
    }
Sending an HTTP Request to the API
The HTTP request body must be a JSON object. The JSON object contains the name and the input parameter values of the API function being called. Below is the list of functions with an example to show how to call them:
Export:
JSON Object Specification:
method: export
input: A JSON Object that contains the input parameters to the export function.
input JSON Object properties:
database: Name of the database you want to export from.
repo: Name of the Git repo you want to export to.
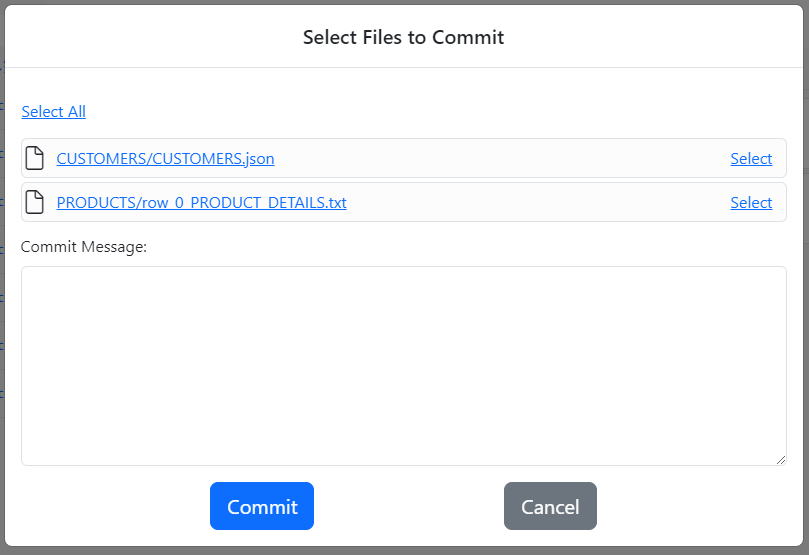
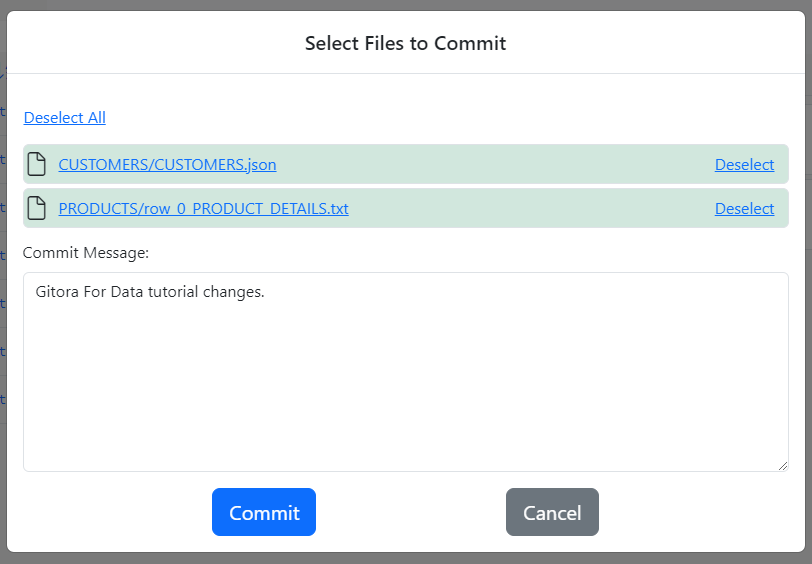
message: Your Git commit message.
threads: Number of threads to use to export the data. (Defaults to 1).
{"method":"export", "input":{"database":"Gitora 7","repo":"CO","threads":2,"message":"API Export"}}
Java example:
        try {
            JSONObject payload  = new JSONObject();
            payload.put("method","export");
            JSONObject input = new JSONObject();
            input.put("database","Gitora 7");
            input.put("repo","CO");
            input.put("message","API Export");
            input.put("threads",2);
            payload.put("input",input);
            JSONObject response = contactGitoraAPI(payload);

        }catch(Exception e){
            e.printStackTrace();
        }
Response
The response from the server returns a JSON Object in the body. If the export function is successful, the object looks like the following:
{"status":"success"}
If the export function is not successful, the object looks like the following:
{"status":"error","error":"Some error message"}
Import
JSON Object Specification
method: import
input: A JSON Object that contains the input parameters to the import function.
input JSON Object properties:
database: Name of the database you want to import into.
repo: Name of the Git repo you want to import.
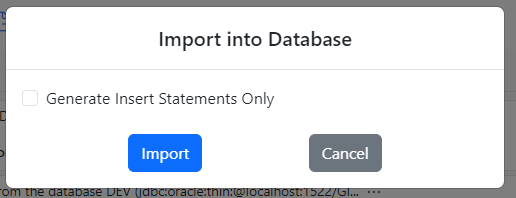
execute: Boolean. Set to true if you want to actually perform the import to the database. Set to false if you want to download the generated insert statements. Defaults to false.
{"method":"import", "input":{"database":"Dulcian Local","repo":"CO","execute":true}}
Java example:
        try {
            JSONObject payload  = new JSONObject();
            payload.put("method","import");
            JSONObject input = new JSONObject();
            input.put("database","Dulcian Local");
            input.put("repo","CO");
            input.put("execute",true);
            payload.put("input",input);

            JSONObject response = contactGitoraAPI(payload);

        }catch(Exception e){
            e.printStackTrace();

        }
Response
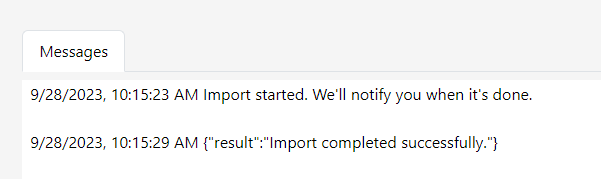
The response from the server returns a JSON Object in the body. If the import function is successful and the execute property was set to true, the object looks like the following:
{"status":"success", "entityReports":[If there are any errors during the import they appear here other wise this property does not exist], "result":"Message that indicates that the import completed without errors. This property exists only if there are no errors during the import." }
Important Note: The status of the response can be success and the import can be a failure. The status property only indicates that the Gitora For Data server accepted and executed your request. It does not indicate that the import itself was successful. For import to be successful, there must be no entityReports property in the response. In other words, the result property must be in the reponse.
If the execute property was set to false, then the response contains a fileName property which you should use with the download function to download the generated script.
{"status":"success","fileName":"Use this value with the download function"}
If the import function is not successful, the object looks like the following:
{"status":"error","error":"Some error message"}
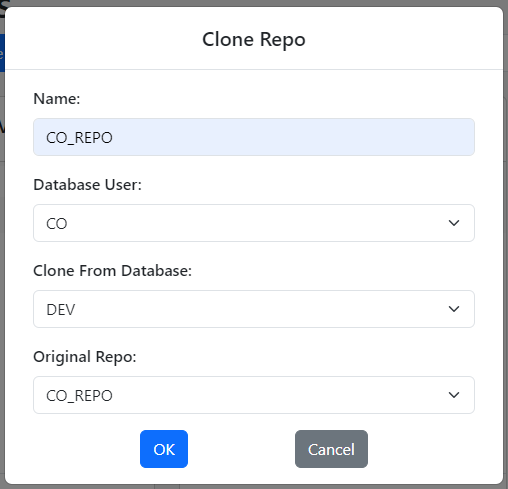
Clone
JSON Object Specification
method: clone
input: A JSON Object that contains the input parameters to the clone function.
input JSON Object properties:
source: A JSON Object that specifies the source repo that will be cloned.
source JSON Object properties:
database: Name of the database you want to clone from.
repo: Name of the Git repo you want to clone.
target: A JSON Object that specifies the target repo.
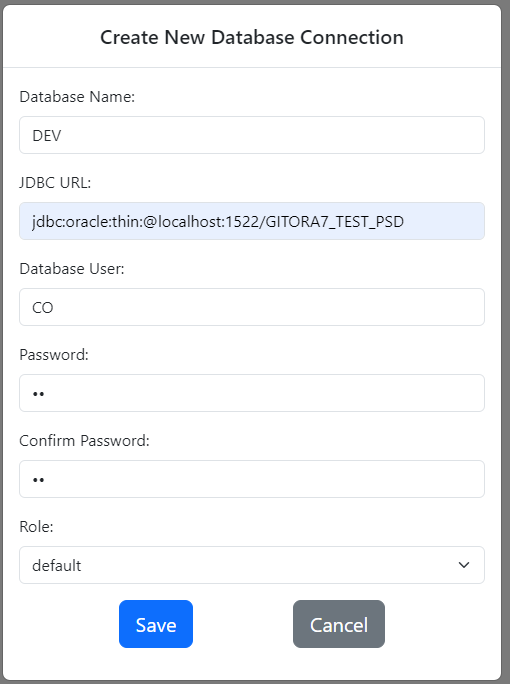
database: Name of the database you want to create the new repo in.
repo: Name of the Git repo you want to create.
databaseUser: Name of the database user to be associated with the new repo.
{"method":"clone", "input":{"source":{"database":"Gitora 7","repo":"CO"},"target":{"databaseUser":"CO","database":"Dulcian Local","repo":"CO"}}}
Java example:
        try {
            JSONObject payload  = new JSONObject();
            payload.put("method","clone");
            JSONObject input  = new JSONObject();
            JSONObject source = new JSONObject();
            source.put("database","Gitora 7");
            source.put("repo","CO");
            input.put("source",source);
            JSONObject target = new JSONObject();
            target.put("database","Dulcian Local");
            target.put("repo","CO");
            target.put("databaseUser","CO");
            input.put("target",target);
            payload.put("input",input);

            JSONObject response = contactGitoraAPI(payload);

        }catch(Exception e){
            e.printStackTrace();
        }
Response
The response from the server returns a JSON Object in the body. If the clone function is successful the object looks like the following:
{"status":"success"}
If the clone function is not successful, the object looks like the following:
{"status":"error","error":"Some error message"}
Get
Returns the content of a file stored in the Git repo.
JSON Object Specification:
method: get
input: A JSON Object that contains the input parameters to the get function.
database: Name of the database you want to get from.
repo: Name of the Git repo you want to get from.
path: Path of the file you want to get. Start the path after the data folder. For example, if the repo is at directory C:\gitora\datastore\GitoraForData\repos\databases\DVD Rental\dvdrental_repo and the file you want to get is actor.json which is at the path C:\gitora\datastore\GitoraForData\repos\databases\DVD Rental\dvdrental_repo\data\actor\actor.json path parameter value must be actor/actor.json . You can download an entire folder by specifying the path to the folder.
commitId: ID of the git commit you want to query from. If you want the current state of the file in the working directory, leave this property null or empty.
returnDownloadLink: If set to true, the function returns a download link that you can use to download the file. If set to false, the body of the response contains the file. Defaults to false. If a file is not a text file, the property is omitted. Binary files and folders are always returned as a downloadable link.
{"method":"get", "input":{"path":"PRODUCTS/PRODUCTS.json","database":"Gitora 7","repo":"CO","commitId":"01f05021c5136db6d3979d61f6b5bfac21fdb42f","returnDownloadLink":true}}
Java example:
        try {
            JSONObject payload  = new JSONObject();
            payload.put("method","get");
            JSONObject input = new JSONObject();
            input.put("database","Gitora 7");
            input.put("repo","CO");
            input.put("path","PRODUCTS/PRODUCTS.json");
            input.put("commitId","01f05021c5136db6d3979d61f6b5bfac21fdb42f");
            input.put("returnDownloadLink",true);
            payload.put("input",input);

            JSONObject response = contactGitoraAPI(payload);

        }catch(Exception e){
            e.printStackTrace();
        }
Response
The response from the server returns a JSON Object in the body. If the get function is successful and the returnDownloadLink property is set to false the object looks like the following:
{"status":"success", "result":{"fileContent","This is the content of my file."}
If the returnDownloadLink property is set to true or the referenced path is a binary file or a folder then the request looks like the following:
{"status":"success", "result":{"filePath","use this path with the download function"}
If the get function is not successful, the object looks like the following:
{"status":"error","error":"Some error message"}
Download
Downloads a file
JSON Object Specification:
method: download
input: A JSON Object that contains the input parameters to the get function.
fileName: A file name that you received from other Gitora For Data API functions. You cannot pass any file name to this function and expect it to return it. The file must be created by another API function.
{"method":"download", "input:{"fileName":"rBa1k6lWlDoFIbzD3OqMh6iZxS7gAsVWw7flhoJQ7zQzDThm3fI.zip"}}
Java example:
        try {
            JSONObject payload  = new JSONObject();
            payload.put("method","download");
            JSONObject input = new JSONObject();
            input.put("fileName","rBa1k6lWlDoFIbzD3OqMh6iZxS7gAsVWw7flhoJQ7zQzDThm3fI.zip");
            payload.put("input",input);
            downloadFromGitoraAPI(payload);
        }catch(Exception e){
            e.printStackTrace();
        }
Response
The response from the server can be downloaded using standard http file download.
Below are the other Java methods used in these examples:
    private static JSONObject contactGitoraAPI(JSONObject payload) {
        HttpURLConnection http = getHTTPConnection();
        try {

            http.getOutputStream().write(payload.toString().getBytes());

            int responseCode = http.getResponseCode();

            JSONObject responseJson = null;
            if (responseCode == HttpURLConnection.HTTP_OK) {
                BufferedReader reader = new BufferedReader(new InputStreamReader(http.getInputStream()));
                String line;
                StringBuilder response = new StringBuilder();
                while ((line = reader.readLine()) != null) {
                    response.append(line);
                }
                reader.close();
                responseJson = parseResponse(response.toString());

            } else {
                System.out.println("contactGitoraAPI:Request failed. Response Code: " + responseCode);
            }
            return responseJson;
        } catch (Exception e) {
            e.printStackTrace();

        }finally{
            http.disconnect();
        }
    }

    private static void downloadFromGitoraAPI(JSONObject payload) {
        HttpURLConnection http = getHTTPConnection();
        try {

            http.getOutputStream().write(payload.toString().getBytes());
            String savePath = "c:\\downloadedfiles\\downloaded_file.zip";
            int responseCode = http.getResponseCode();

            if (responseCode == HttpURLConnection.HTTP_OK) {
                try (FileOutputStream fileOutputStream = new FileOutputStream(savePath);
                     BufferedOutputStream bufferedOutputStream = new BufferedOutputStream(fileOutputStream)) {

                    // Create input stream connected to the server response
                    try (InputStream inputStream = http.getInputStream();
                         BufferedInputStream bufferedInputStream = new BufferedInputStream(inputStream)) {

                        // Create a buffer and a variable to keep track of how many bytes are read
                        byte[] buffer = new byte[4096];
                        int bytesRead;

                        // Read the file and write it to the output stream
                        while ((bytesRead = bufferedInputStream.read(buffer)) != -1) {
                            bufferedOutputStream.write(buffer, 0, bytesRead);
                        }
                    }
                }

            } else {
                System.out.println("contactGitoraAPI:Request failed. Response Code: " + responseCode);
            }
            //return responseJson;
        } catch (Exception e) {
            e.printStackTrace();

        }finally{
            http.disconnect();
        }
    }